How to Care for Your Hearing Aids: Cleaning and Maintenance Tips
Hearing aids are small, precision-engineered devices that work in one of the most demanding environments imaginable — inside the human ear canal, surrounded by moisture, heat, earwax, and debris every single day. Without proper hearing aid care and maintenance, even a high-quality device can start to underperform in a matter of weeks. Sound may become muffled, the volume unpredictable, or the device may cut out entirely. The good news is that most of these problems are completely preventable with a few simple habits that take less than five minutes a day.
Whether you are a first-time hearing aid wearer or you have owned devices for years, this guide walks you through everything you need to know — from daily cleaning routines and moisture protection to dome and wax guard replacement, battery charging habits, and when to bring your aids in for a professional service. Save this page. You will want to refer back to it.
Why Regular Hearing Aid Maintenance Matters
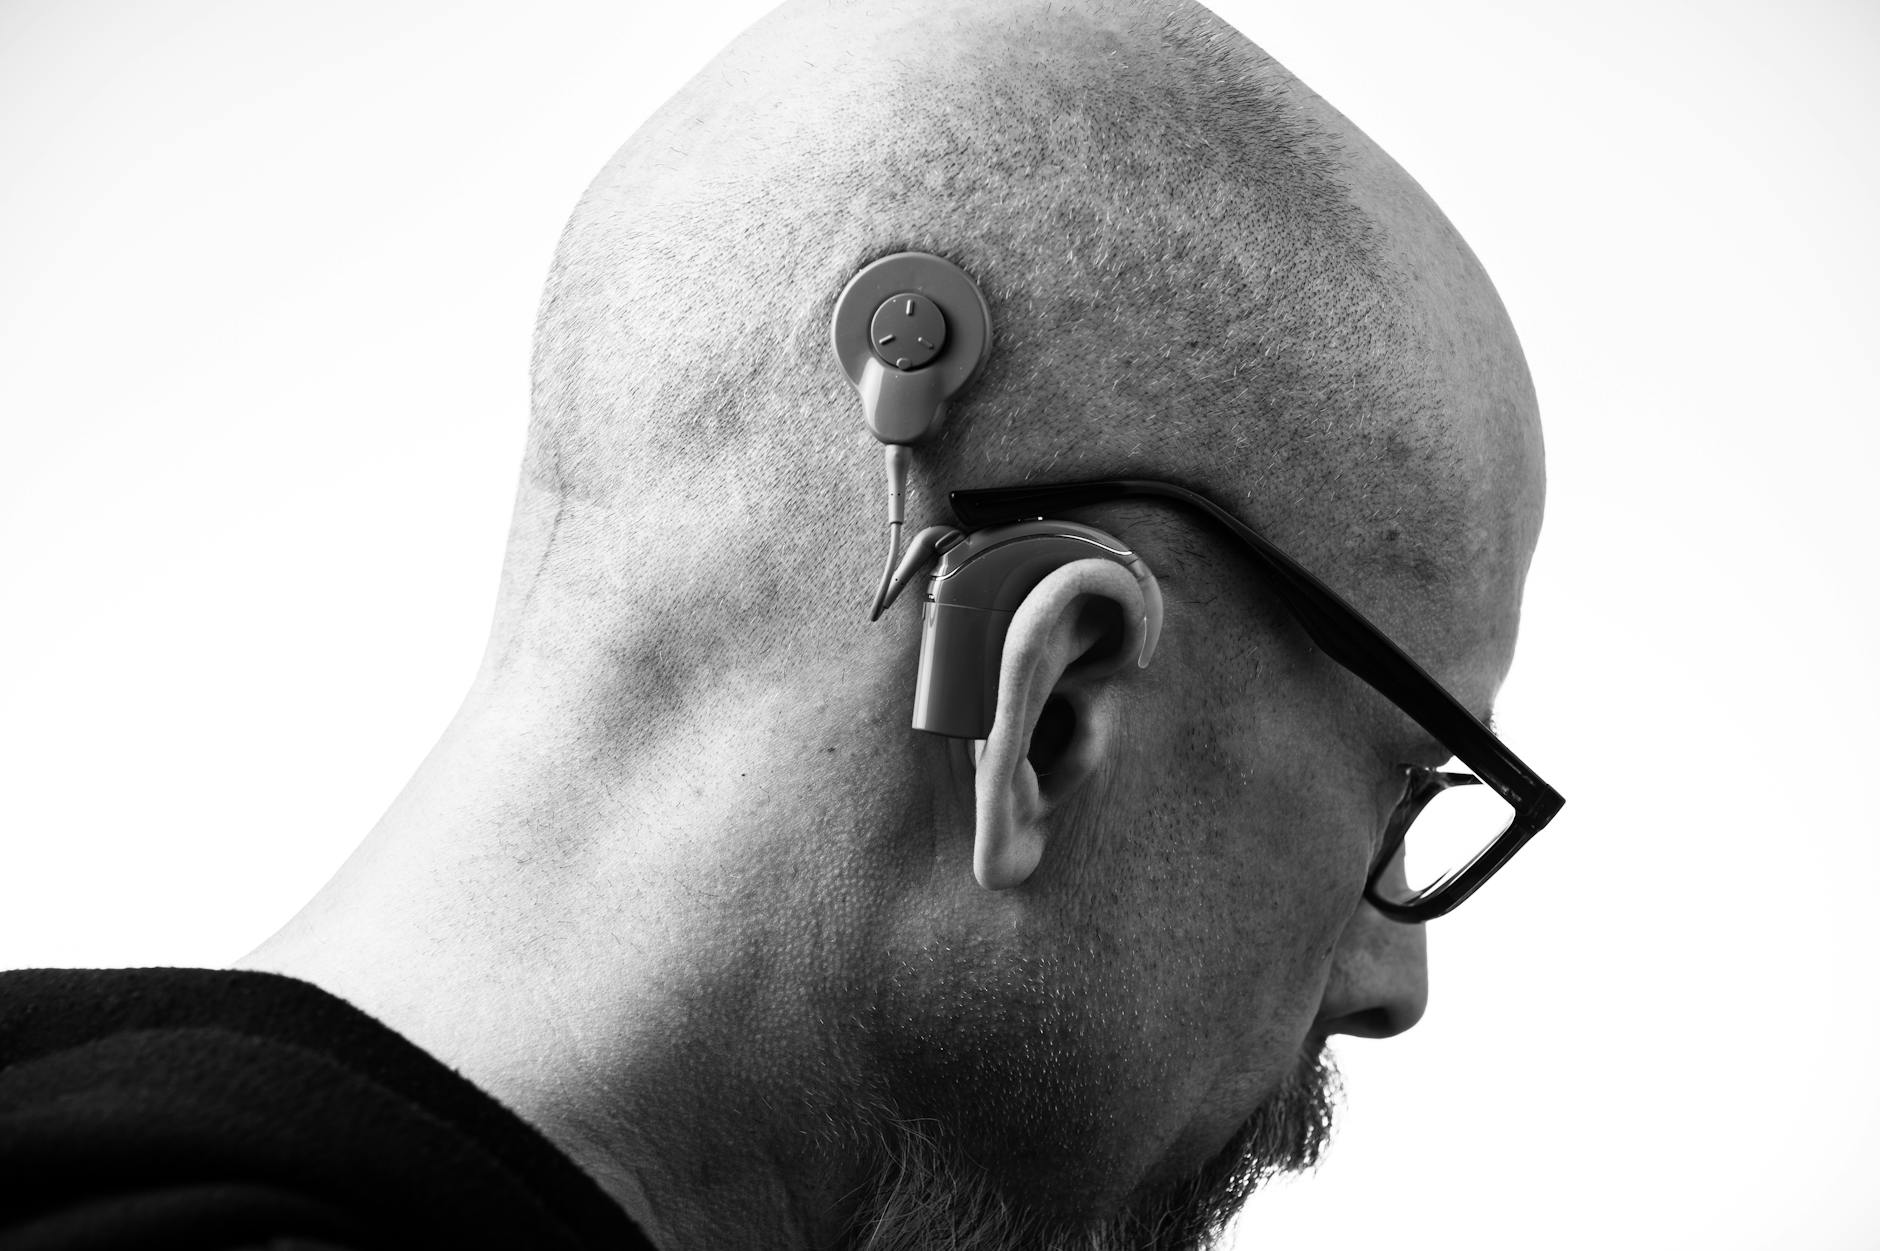
A modern hearing aid is a sophisticated piece of technology packed into something roughly the size of a kidney bean. Inside that tiny shell are microphones, amplifiers, digital signal processors, speakers (called receivers), and in most modern models, wireless radios and rechargeable batteries. Every one of those components is sensitive to the three things that are unavoidable in daily wear: earwax, moisture, and physical impact.
According to audiologists, the vast majority of hearing aid repairs sent back to manufacturers are caused by earwax blockages and moisture damage — both of which are almost entirely preventable. A consistent hearing aid maintenance guide is less about technical skill and more about building habits. Once those habits are established, they become second nature.
There is also a strong financial argument for regular care. A quality pair of hearing aids can cost anywhere from a few hundred to several thousand dollars. Professional repairs and out-of-warranty replacements are expensive. Extending the lifespan of your devices by even one or two years through proper care represents a significant saving.

Your Daily Hearing Aid Cleaning Routine
The single most effective thing you can do for your devices is follow a brief daily cleaning ritual. Doing this at the same time each day — most audiologists recommend at night before bed — ensures it becomes automatic. Here is a step-by-step routine that applies to virtually all behind-the-ear (BTE), receiver-in-canal (RIC), and in-the-ear (ITE) styles.
Step 1 — Wipe Down the Shell
Using a soft, dry cloth or the microfibre cloth that came with your device, gently wipe the entire outer shell of each hearing aid. This removes skin oils, surface moisture, and any loose debris. Never use wet wipes, alcohol pads, or household cleaning sprays — these can damage the casing, corrode metal contacts, and strip protective coatings.
Step 2 — Brush Away Earwax From the Microphone Ports
Your hearing aid likely came with a small soft-bristle cleaning brush. Hold the device with the microphone ports facing downward and use the brush to gently sweep debris away — letting gravity help particles fall out rather than further in. The microphone ports are usually tiny holes or slots on the top of the device. Be gentle; the membranes behind these ports are delicate.
Step 3 — Check and Clean the Receiver or Sound Outlet
For RIC and BTE models, the receiver tip or earmold is the part that sits in the ear canal and is most exposed to wax. Inspect it visually. If you see wax buildup, use your brush or a wax pick (a thin looped or hooked tool often included in cleaning kits) to carefully clear the opening. For in-the-ear models, the sound outlet at the tip of the device needs the same attention.
Step 4 — Inspect the Tubing (BTE Models)
If your BTE device uses a tube to connect the shell to the earmold, check it for moisture, discolouration, or cracks. Tubing should be clear and flexible. If it is yellowing, brittle, or you can see condensation inside, it is time for a replacement — a task your audiologist can do in minutes during a routine visit.
Step 5 — Store Overnight Correctly
Once cleaned, place your hearing aids in their case with the battery door open (for disposable battery models) to allow air circulation. For rechargeable models, place them on their charging dock. Never leave hearing aids on a bathroom counter, in a car, or anywhere exposed to temperature extremes.
Daily Cleaning Checklist
- Wipe outer shell with dry soft cloth
- Brush microphone ports (device facing down)
- Clear receiver tip / sound outlet of wax
- Inspect BTE tubing for moisture or cracks
- Open battery door (or dock rechargeables) before storing
- Place in case away from heat and moisture
Moisture Protection: The Hidden Enemy
Moisture is responsible for more hearing aid failures than any other single factor. Sweat, humidity, rain, and even steam from a shower can infiltrate the casing and corrode internal components over time. Understanding how to clean hearing aids properly includes knowing how to manage moisture on a daily and weekly basis.
Desiccant Drying Systems
A hearing aid drying kit — either a simple jar with desiccant beads or an electronic UV drying case — draws moisture out of the device overnight. If you live in a humid climate, sweat heavily, are physically active, or simply want maximum protection, a drying system is one of the best investments you can make. Electronic UV dryers have the added benefit of killing bacteria, which helps reduce the buildup that can block microphone ports.
Desiccant jars typically need their beads recharged in an oven every few months. Electronic dryers simply need to be plugged in. Either type is far less expensive than a moisture-related repair.
Everyday Moisture Habits
- Remove your hearing aids before showering, swimming, or bathing. No hearing aid — even those with high IP (Ingress Protection) ratings — is designed for submersion.
- Take them out before using a hairdryer or sitting in a steam room or sauna.
- If caught in rain, dry them as soon as you get indoors using a soft cloth, then place in your drying case.
- Do not wear them while applying hairspray, sunscreen, or other aerosol products — these can clog microphone ports.
- If you are exercising heavily, consider a hearing aid sweat band or moisture sleeve, which fits over the device and absorbs perspiration before it can reach the casing.

When to Replace Domes and Wax Guards
Two of the most commonly overlooked aspects of a proper hearing aid maintenance guide are dome and wax guard replacement. These are consumable components — they are designed to be swapped out regularly, and neglecting them is one of the fastest ways to degrade sound quality.
Domes
Domes are the small, soft silicone tips that attach to the receiver of RIC and thin-tube BTE hearing aids and sit inside the ear canal. They create the acoustic seal that directs amplified sound into the ear. Over time, domes stretch, discolour, and accumulate wax that cannot always be fully cleaned away.
Most audiologists recommend replacing domes every one to three months, depending on how much earwax you produce. Signs it is time for a new dome include: visible wax buildup that cannot be cleaned off, the dome has become misshapen or stretched, or sound quality has noticeably degraded without any other apparent cause. Replacement domes are inexpensive and available from your audiologist or online in bulk.
Wax Guards (Wax Filters)
Wax guards sit just inside the receiver tip and act as a barrier between your ear canal and the delicate receiver speaker. They catch wax and debris before it can reach — and damage — the speaker. When a wax guard becomes saturated, it blocks sound transmission, and many users mistake this for a battery problem or device failure when it is simply a clogged filter.
Replace wax guards every two to four weeks if you produce significant earwax, or whenever you notice reduced volume that does not improve after standard cleaning. Replacement is straightforward: most systems include a tool with a fresh wax guard on one end and a removal pin on the other. You insert the pin into the old guard, pop it out, then push the new one in from the other end of the tool. Your audiologist can show you the technique the first time so you feel confident doing it at home.
Replacement Schedule At a Glance
- Wax guards: Every 2–4 weeks (sooner if sound becomes muffled)
- Domes: Every 1–3 months (sooner if discoloured or misshapen)
- Tubing (BTE): Every 3–6 months or when yellowing/brittle
- Earmolds: Every 1–3 years (or when fit changes)
Rechargeable Hearing Aid Care and Charging Habits
Rechargeable hearing aids have become the dominant choice for new wearers because they eliminate the hassle of tiny disposable batteries. But rechargeable models have their own care requirements, and forming good charging habits from the start will help extend hearing aid battery life and protect the internal cells from premature degradation.
Charge Every Night Without Fail
The lithium-ion cells used in most rechargeable hearing aids are optimised for regular, full charge cycles. Unlike older battery chemistry, modern lithium-ion does not suffer from "memory effect," so you do not need to fully drain the battery before charging. In fact, the opposite is true — it is better for the cells to be topped up frequently than to be repeatedly run down to zero. Make docking your hearing aids every night a non-negotiable habit, even if they feel like they still have charge remaining.
Keep the Charging Contacts Clean
The small metal contacts on the hearing aids and on the charging dock can accumulate skin oils, dust, and debris over time, which can interrupt the charging connection. Wipe both sets of contacts gently with a dry cloth or cotton swab every week. If you notice a device is not charging properly despite being correctly seated in the dock, a dirty contact is often the culprit before any technical fault.
Avoid Extreme Temperatures While Charging
Never charge your hearing aids in a car, near a window in direct sunlight, or in a cold garage. Lithium-ion cells are sensitive to temperature during charging — heat accelerates cell degradation, and cold can prevent the battery from accepting a full charge. Room temperature — ideally between 15°C and 25°C (60°F to 77°F) — is optimal.
Do Not Use Third-Party Chargers
Only use the charging dock and cable supplied by or approved by your hearing aid manufacturer. Third-party chargers may deliver incorrect voltages that damage the battery cells or internal electronics over time. If your original charger is lost or damaged, contact your audiologist or the manufacturer directly for a certified replacement.

Dos and Don'ts: Quick Reference
| DO | DON'T |
|---|---|
| Clean daily with a soft dry cloth | Use alcohol, wet wipes, or liquid cleaners |
| Remove before showering or swimming | Wear in heavy rain, steam rooms, or saunas |
| Use a desiccant or UV dryer overnight | Use a microwave or conventional oven to dry |
| Replace wax guards every 2–4 weeks | Ignore muffled sound — it usually means a blocked filter |
| Store in a hard case when not in use | Leave them on bathroom counters or in cars |
| Charge rechargeable models every night | Let rechargeable batteries drain to zero regularly |
| Schedule annual professional servicing | Attempt to open or repair the shell yourself |
When to See Your Audiologist for a Professional Clean
Home maintenance handles the vast majority of day-to-day care, but there are situations where a professional service is the right call. Your audiologist has specialist tools — including vacuum suction systems, ultrasonic cleaners, and magnification equipment — that can reach places home cleaning cannot.
Book a professional service if you notice any of the following:
- Sound quality has deteriorated even after replacing wax guards and domes
- Feedback (whistling) has increased noticeably and is not resolved by repositioning the device
- The device intermittently cuts out or behaves erratically
- You have had a significant moisture exposure event (dropped in water, heavy rain)
- The tubing is cracked or the earmold no longer fits comfortably
- It has been more than 12 months since the last professional check
Most audiologists recommend at minimum one professional service per year, though twice a year is ideal for heavy users or those in high-humidity environments. Many clinics offer this as part of an aftercare plan when you purchase devices — if yours did, make use of it.
Storage and Handling Best Practices
How you handle and store your hearing aids when you are not wearing them matters more than most people realise. Physical damage — drops, crushing, exposure to pets — is the second most common cause of avoidable hearing aid damage after moisture. Here are the key habits to build.
- Always handle over a soft surface. When inserting or removing your aids, sit at a table with a cloth or towel beneath your hands. A fall from even a few inches onto a hard floor can crack the casing or dislodge the receiver.
- Use a dedicated case. Your hearing aids should have a hard-shell carry case. Use it. Do not drop them loose in a handbag, pocket, or drawer where they can be crushed, scratched, or exposed to debris.
- Keep away from pets and children. Hearing aids are irresistible to dogs — the smell of earwax makes them appealing chew toys. Store them on a high shelf or in a closed cabinet.
- Keep batteries and devices away from extreme heat. Never leave hearing aids (or spare batteries) in a glove compartment, on a sunny windowsill, or near a radiator. Heat can warp plastic casings, damage internal components, and — in the case of disposable zinc-air batteries — reduce their shelf life dramatically.
- Remove before inserting ear drops or sprays. Medicated ear drops and any kind of spray product should be applied only after removing your devices. Wait a few minutes before reinserting to ensure the ear canal is clear.
Frequently Asked Questions
Key Takeaways
Good hearing aid care and maintenance does not require special expertise — it requires consistency. A five-minute cleaning routine each evening, a desiccant or UV dryer, fresh wax guards every few weeks, and a charge on the dock every night will do more for the longevity and performance of your devices than almost anything else.
The most important things to remember: moisture and earwax are your devices' biggest enemies, and both are manageable with the right habits. Know your replacement schedule for consumables like domes and wax guards — do not wait for performance to degrade before swapping them out. And lean on your audiologist. They are a resource, not just a supplier. An annual professional service, combined with good home care, is the formula for getting the most out of your investment for years to come.
Bookmark this page and use the checklists above as a reference until the routine becomes second nature. Your hearing aids will thank you — and so will your hearing.