10 Creative Ways to Improve Sound Quality at Home Without Buying New Speakers
You don't need to spend hundreds of dollars on new equipment to improve sound quality at home. Whether you're watching an NBA game and the crowd noise sounds muddy, streaming music that feels flat, or just tired of dialogue getting swallowed by background noise, the fix is rarely a new set of speakers. More often than not, the problem is your room — how sound bounces, where it gets absorbed, and how your existing gear is configured.
The good news: most of the changes that make the biggest difference cost nothing. Room acoustics, speaker positioning, furniture arrangement, and a few free software tools can transform the way your home audio sounds. This guide covers 10 actionable, practical techniques you can start using today.
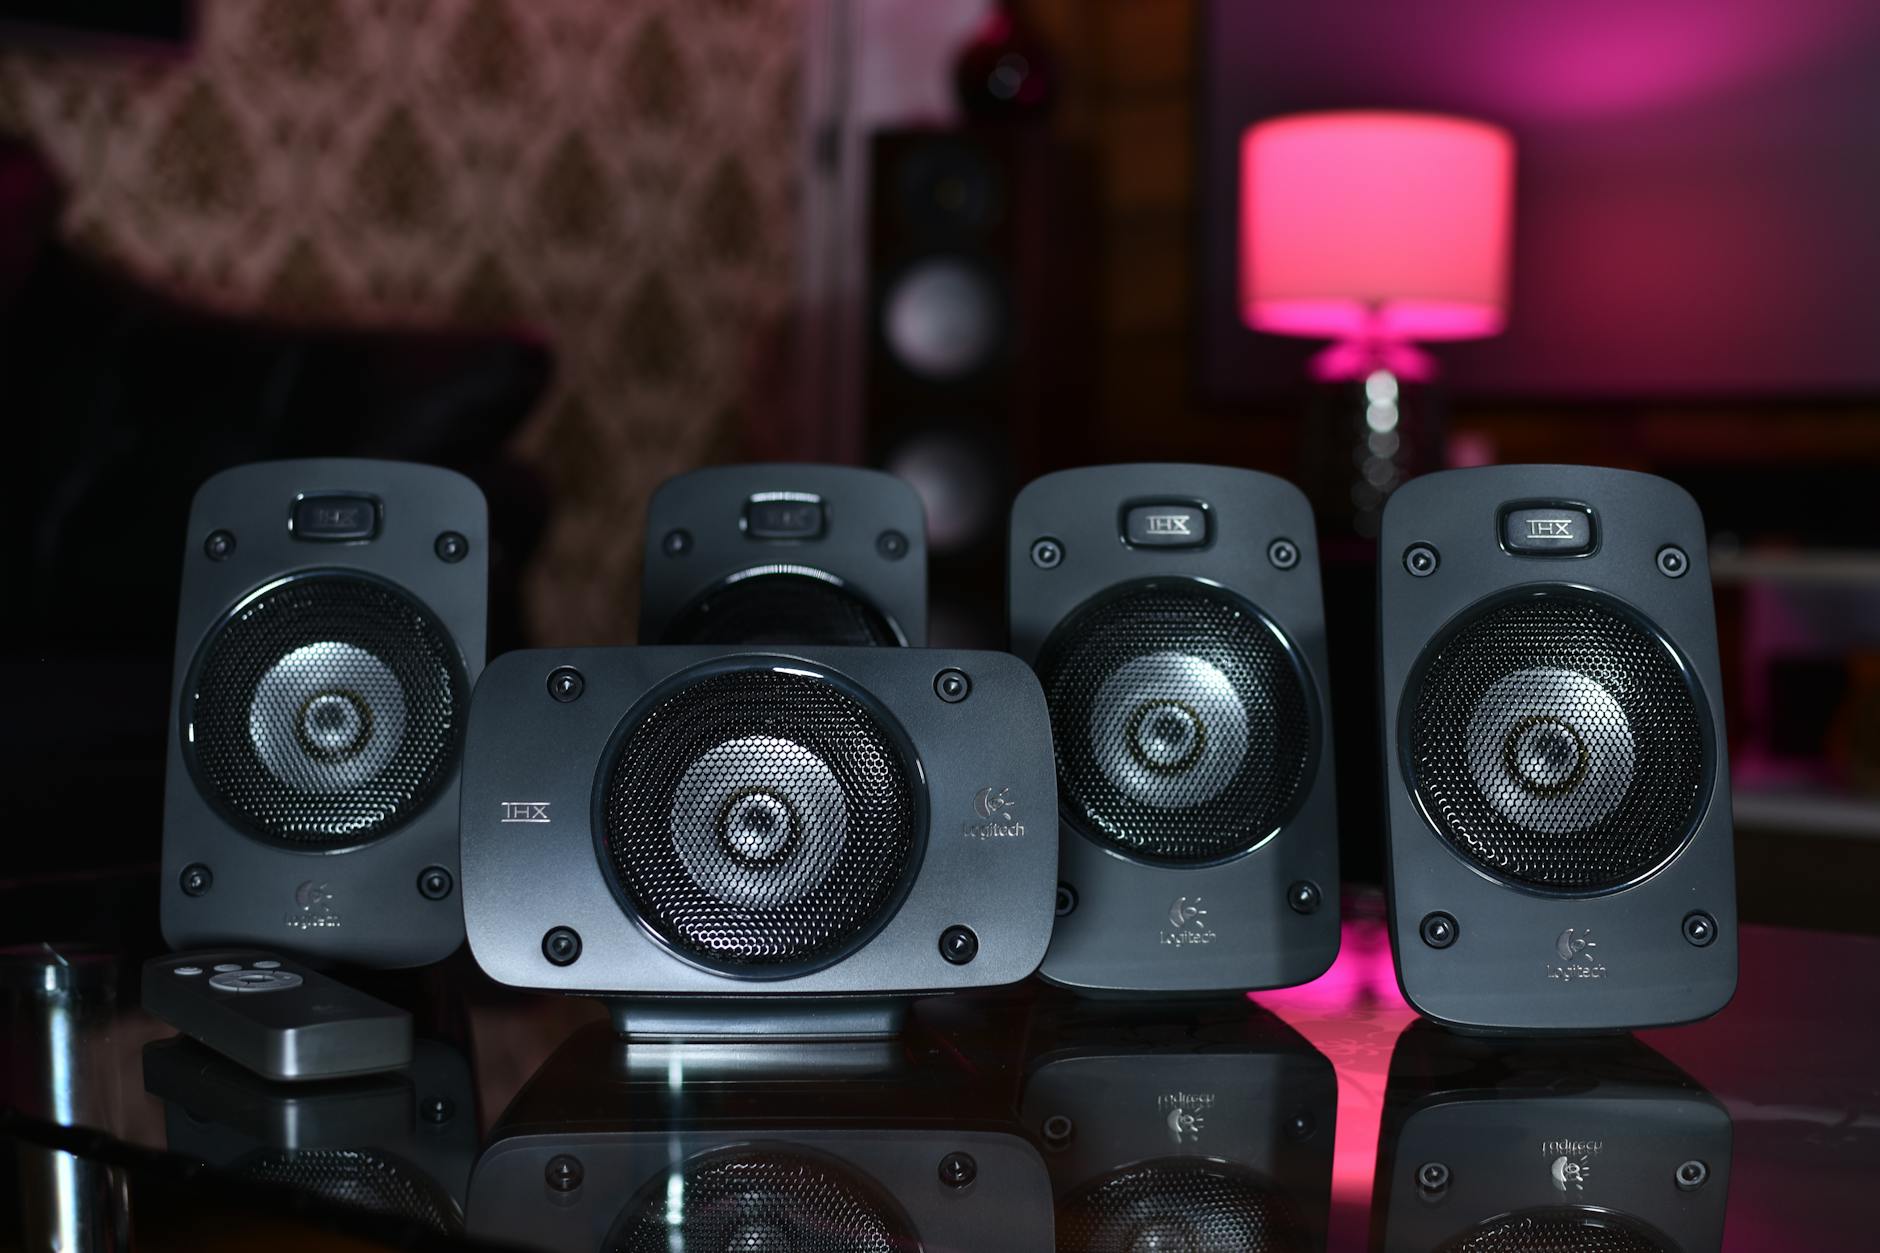
1. Optimize Speaker Placement First — It's the Biggest Win
Speaker placement is the single most impactful change you can make to improve sound quality at home, and it costs absolutely nothing. Most people set their speakers wherever they fit — on a bookshelf, against a wall, or in a corner — without thinking about how sound actually travels.
Follow these placement principles:
- Form an equilateral triangle. Your two speakers and your listening position should each be the same distance apart — typically 6 to 8 feet for a living room setup. This creates a centered stereo image.
- Toe-in your speakers. Angle each speaker inward so it points toward your ears rather than firing straight ahead. Start at about 30 degrees and adjust by ear.
- Pull speakers away from walls. Even 12 to 18 inches of clearance behind a speaker dramatically reduces bass buildup and muddiness.
- Ear height matters. Tweeters (the small, high-frequency drivers) should be level with your ears when seated. A simple speaker stand, stack of books, or angled wedge can make this adjustment.
Spend 20 minutes repositioning your speakers before anything else. The improvement is frequently dramatic — listeners often describe it as sounding like an entirely different system.
2. Use Hard, Reflective Surfaces Strategically
Sound reflects off hard surfaces (tile, glass, hardwood floors) and gets absorbed by soft ones (rugs, curtains, cushions). Neither is inherently bad — the balance between the two determines how your room sounds.
A room that is entirely soft and absorbent sounds "dead" and lifeless. A room full of hard surfaces sounds harsh and echo-heavy. The sweet spot is a mix that keeps the sound lively without creating distracting reflections.
Practical tactics:
- Place a large bookshelf with irregularly arranged books on a side wall — books act as natural diffusers, scattering sound instead of reflecting it as one sharp echo.
- A hardwood or tile floor in front of your speakers helps project sound forward into the room. A rug in your listening area reduces harsh floor reflections from reaching your ears at the wrong time.
- Glass doors or windows opposite your speakers can cause strong flutter echo. A set of heavy curtains drawn during listening sessions can resolve this instantly.

3. Build DIY Acoustic Panels From Household Items
Professional acoustic foam panels cost $50 to $300 each. The DIY version costs nearly nothing and works just as well for home listening purposes.
The simplest DIY acoustic panel:
- Buy a wooden picture frame or build a simple frame from lumber (2x4 scraps work fine).
- Stuff it with rigid fiberglass insulation (Owens Corning 703) or dense rockwool/mineral wool — available at any hardware store for around $30 for a large sheet.
- Wrap the frame in breathable fabric (burlap, linen, or canvas — avoid anything that blocks air flow).
- Hang the panel at the "first reflection points" on your side walls — the spots where sound from your speakers first bounces toward your listening position. Sit in your listening chair and have someone hold a mirror against the side wall; wherever you can see a speaker reflected is a first reflection point.
Even a single 2x4 foot panel at each first reflection point can noticeably reduce harshness and tighten the stereo image. Heavy blankets or moving blankets hung on walls work as a free temporary alternative while you build something more permanent.
4. Dial In Your EQ Settings
Most receivers, soundbars, streaming apps, and even phone settings include an equalizer — a tool that lets you boost or cut specific frequency ranges. Used correctly, EQ is one of the fastest ways to improve sound quality at home without touching your hardware at all.
General EQ guidelines:
- Muddy or boomy bass? Reduce the 100–250 Hz range by 2–4 dB. This is the most common problem in rooms with parallel walls.
- Harsh or fatiguing highs? Pull down the 2–5 kHz range slightly. This is where sibilance ("s" sounds) and cymbal harshness live.
- Thin or hollow sound? A gentle boost at 80–100 Hz adds warmth without muddiness.
- Dialogue difficult to follow? A small boost in the 1–3 kHz "presence" range makes vocals cut through more clearly — helpful during game broadcasts or films.
The golden rule of EQ: cut rather than boost. Reducing problem frequencies almost always sounds more natural than boosting desired ones. Make small adjustments (2–3 dB at a time) and listen for a few minutes before making further changes.

5. Rearrange Your Furniture for Better Acoustics
Your sofa, bookshelves, and rugs are acoustic tools, whether you treat them that way or not. A few furniture changes can dramatically shift how sound behaves in a room.
- Avoid sitting directly against a back wall. When your listening position is flush with a wall, bass frequencies build up excessively behind your head, making low-end sound bloated. Pull the sofa forward by even 12 inches.
- Fill empty corners. Floor-to-ceiling bookshelves in corners break up the bass buildup that naturally accumulates there. A tall plant or a freestanding wardrobe works similarly.
- Use a large area rug. A rug between your speakers and listening position absorbs floor reflections and tightens up the sound significantly — particularly important on hardwood or tile floors.
- Add soft furnishings to parallel walls. Two hard, parallel walls create "flutter echo" — a rapid series of reflections that smears detail. A couch against one wall and a bookshelf against the opposite one breaks up this pattern.
6. Sound Dampening Techniques That Cost Nothing
Before investing in anything, exploit what you already have in your home to dampen unwanted reflections.
- Heavy curtains: Closing thick curtains during a listening session or movie can remove several dB of high-frequency reflection from glass windows — a genuinely audible improvement.
- Cushions and throws: Piling extra cushions on a sofa or armchair temporarily increases absorption in the room. Not decorative, but effective during a critical listening session.
- Mattresses and duvets: Leaning a mattress against a wall temporarily turns it into a very effective broadband absorber — useful if you're doing a voice recording or want a controlled test.
- Clothing in closets: An open closet full of hanging clothes is an excellent sound absorber. If your listening room has an adjacent closet with a thin door, leaving it open during listening sessions noticeably reduces room reverb.
7. Use Free Smartphone Apps to Measure and Fix Your Room
You don't need expensive measurement equipment to understand what's happening acoustically in your room. Several free and low-cost smartphone apps let you measure frequency response, identify problem areas, and test the effect of your changes objectively.
Recommended free tools:
- Room EQ Wizard (REW): The industry-standard room measurement software. Free for desktop (Mac/Windows/Linux), requires a calibrated measurement microphone for full use — but even with your phone's built-in mic, it provides useful frequency response plots.
- Spectroid (iOS/Android): A real-time spectrogram app that shows you which frequencies are active in your room as you play test tones. Free and immediately useful for identifying bass buildups.
- Sound Meter (Android) / Decibel X (iOS): Simple SPL (sound pressure level) meters. Useful for balancing left/right speaker levels by ear and measurement.
The basic workflow: play pink noise from your speakers, walk around the room with the spectrogram open, and notice where certain frequencies are louder or quieter. Peaks are typically problem spots. Once you've identified them, the other tips in this guide give you the tools to address them.
8. Master Stereo Pairing and Phase Alignment
If you're using a pair of speakers — even inexpensive ones — making sure they are properly paired and in phase is essential. Out-of-phase speakers cancel each other's bass frequencies, creating a thin, hollow sound with no center image. This is more common than most people realize, especially with wireless speakers or systems that have been moved and reconnected.
How to check phase:
- Play a mono track (any single-instrument recording or a voice-only podcast) and sit in the center of your listening position.
- The sound should appear to come from a single, focused point directly between the two speakers.
- If the sound seems to come from the walls rather than the center, or if bass sounds weak compared to a single speaker playing, your speakers may be out of phase.
- On wired speakers, swap the positive and negative terminals on one speaker and re-test. On wireless speakers, check the app's "phase" or "stereo" settings.
Also check that your speakers are playing at matched volume levels. Use a free SPL meter app to measure from your listening position and adjust the level trim on one speaker until both read the same dB at your ears.
9. Tame Corner Bass Buildup With DIY Bass Traps
Low frequencies (bass) are long wavelengths that accumulate in room corners — where two walls and a floor or ceiling meet. This is why bass often sounds boomy or one-note in untreated rooms, and why it can seem like it disappears entirely when you move a few feet. This phenomenon is called "room modes" or "standing waves."
Professional bass traps are thick chunks of acoustic foam or mineral wool placed in corners. You can approximate them cheaply:
- Large houseplants in corners: Dense foliage scatters and slightly absorbs low-mid frequencies. Not a perfect bass trap, but better than an empty corner.
- Corner bookshelves: A floor-to-ceiling corner shelf packed with books creates diffusion at all frequencies, which reduces the severity of bass node buildup.
- DIY corner panels: Using the same rockwool/mineral wool described in tip #3, cut a triangular wedge and place it in the corner. Even 4 inches of dense mineral wool in a floor-to-ceiling corner can measurably reduce bass resonance.
- Sofa backs to corners: Positioning a large, dense sofa so its back fits into a corner absorbs a surprising amount of bass energy — not always practical, but effective in rooms where layout allows it.
10. The Cable Quality Myth — Where to Actually Spend Your Upgrade Budget
One of the most persistent myths in home audio is that expensive speaker cables, "audiophile" HDMI cables, or premium optical cables produce meaningfully better sound than standard ones. For nearly all home listening purposes, this is not supported by controlled testing.
A standard 16-gauge copper speaker wire performs identically to a $200 "audiophile" cable in blind listening tests at normal home audio levels. Similarly, a $6 optical cable carries the same digital signal as a $60 one — digital data either transfers correctly or it doesn't.
Where cable quality genuinely matters:
- Very long runs: Over 50 feet of speaker cable, thicker gauge (12 AWG) does reduce resistance meaningfully. For typical living room distances, 16 AWG is fine.
- Connector quality: Loose, corroded, or poorly crimped connections do degrade sound. Check and re-seat all connections before assuming a cable upgrade is needed.
- Shielded analog interconnects: In environments with strong electromagnetic interference (near large appliances or lighting dimmers), a shielded RCA cable reduces hum and noise. This is a real-world benefit, not snake oil.
The money you don't spend on premium cables is better invested in a cheap area rug, some mineral wool for corner panels, or a decent measurement microphone to properly calibrate your EQ.
Key Takeaways
The ability to improve sound quality at home is far more about the room and the setup than the equipment itself. Here is a quick priority order for where to start:
- Reposition your speakers into an equilateral triangle, toed-in, pulled away from walls, at ear height.
- Check phase alignment and matched volume levels between your two speakers.
- Add a large area rug in the listening area to reduce floor reflections.
- Pull your sofa forward from the back wall by at least a foot.
- Use free measurement apps to identify specific frequency problems in your room.
- Adjust your EQ based on what you measure — cutting problem frequencies rather than boosting.
- Address first reflection points with DIY panels, bookshelves, or hung blankets.
- Fill corner bass traps with books, plants, or mineral wool panels.
- Control reflective surfaces — close curtains, add cushions, use bookshelves as diffusers.
- Skip the cable upgrade — check connections instead and redirect that budget toward actual acoustic treatment.
None of these steps require purchasing new speakers, receivers, or expensive accessories. Start with placement and work your way down the list — most listeners find that the first three or four changes alone produce an improvement that feels like a completely new system.